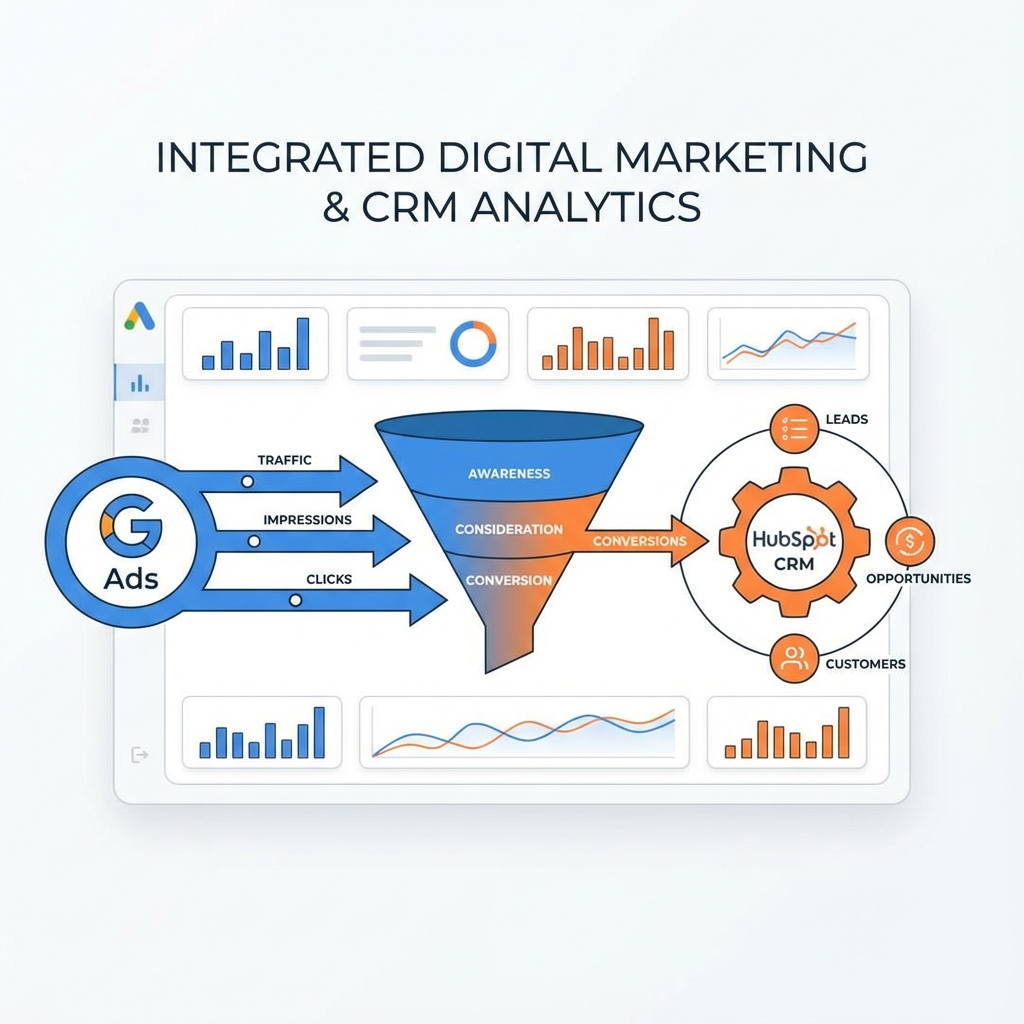
If you're spending money on Google Ads for B2B lead generation, you're probably optimizing for form submissions. But form fills don't pay the bills—revenue does. This guide shows you how to import offline conversions from HubSpot to Google Ads, so Smart Bidding can optimize for what actually matters: qualified leads, opportunities, and closed deals.
Table of Contents
- Why Offline Conversions Matter
- How Offline Conversion Import Works
- Prerequisites
- Step-by-Step Setup
- Automation Methods
- Troubleshooting
- FAQs
Why Offline Conversions Matter
The Problem with Top-of-Funnel Optimization
Most B2B Google Ads accounts optimize for form submissions or demo requests. But here's what typically happens:
| Stage | Volume | Conversion | What Google Sees |
|---|---|---|---|
| Ad Click | 1,000 | - | ✅ Sees this |
| Form Fill | 50 | 5% | ✅ Optimizes for this |
| MQL | 25 | 50% | ❌ Blind |
| SQL | 10 | 40% | ❌ Blind |
| Closed Won | 4 | 40% | ❌ Blind |
The result: Google optimizes for any form fill, including tire-kickers, competitors, and unqualified leads. Your best campaigns might have low form-fill volume but high deal-close rates—and Smart Bidding can't see that.
The Solution: Tell Google What Happens After the Click
With offline conversion import, you send CRM data back to Google:
| When This Happens in HubSpot | Google Ads Sees |
|---|---|
| Contact becomes MQL | Conversion: MQL |
| Contact becomes SQL | Conversion: SQL (higher value) |
| Deal closes | Conversion: Closed Won + Revenue |
Now Smart Bidding can optimize for revenue, not just clicks.
Real-World Impact
A B2B SaaS company we worked with saw these results after implementing offline conversions:
| Metric | Before | After 60 Days |
|---|---|---|
| Cost per SQL | Unknown | $340 |
| Campaigns driving SQLs | Unknown | 3 of 8 |
| Wasted spend identified | $0 | $4,200/mo |
| ROAS | "Good?" | 4.2x confirmed |
Related: How to Connect Google Ads to HubSpot for Revenue Attribution covers the conceptual foundation.
How Offline Conversion Import Works
The Technical Flow
1. User clicks Google Ad
   └── GCLID attached to URL (e.g., ?gclid=CjwKCAiA...)

2. User fills out form
   └── GCLID captured in hidden field
   └── Stored as contact property in HubSpot

3. Sales qualifies the lead
   └── Lifecycle stage changes to SQL

4. Automation triggers
   └── HubSpot sends conversion to Google Ads
   └── GCLID links conversion to original click

5. Google Ads receives conversion
   └── Smart Bidding incorporates signal
   └── Attribution reports show true value
What You Need
| Component | Purpose |
|---|---|
| GCLID capture | Links conversions to clicks |
| HubSpot property | Stores GCLID on contact |
| Google Ads conversion action | Receives offline data |
| Automation (Zapier, Make, or custom) | Sends data when stage changes |
Prerequisites
Before starting, ensure you have:
- HubSpot account with Workflows (Pro or higher for custom code)
- Google Ads account with conversion tracking enabled
- Website forms that can capture hidden fields
- Google Ads auto-tagging enabled
- Admin access to both platforms
Enable Auto-Tagging in Google Ads
- Google Ads → Settings → Account Settings
- Auto-tagging → Turn ON
- This appends ?gclid=XXX to all ad clicks
Step-by-Step Setup
Step 1: Capture GCLID on Your Website
Add this code to your website (via GTM or directly):
// Store GCLID in cookie for 90 days
function storeGclid() {
  const urlParams = new URLSearchParams(window.location.search);
  const gclid = urlParams.get('gclid');

  if (gclid) {
    const expiryDate = new Date();
    expiryDate.setDate(expiryDate.getDate() + 90);
    document.cookie = `gclid=${gclid};expires=${expiryDate.toUTCString()};path=/`;
  }
}

// Retrieve GCLID from cookie
function getGclid() {
  const match = document.cookie.match(/gclid=([^;]+)/);
  return match ? match[1] : '';
}

// Run on page load
storeGclid();
Step 2: Add Hidden Field to Forms
For HubSpot forms:
- Edit your form
- Add a hidden field called "gclid" (or google_click_id)
- In advanced options, set it to populate from URL parameter: gclid
For custom forms:
<input type="hidden" name="gclid" id="gclid-field">

<script>
  document.getElementById('gclid-field').value = getGclid();
</script>
Step 3: Create HubSpot Contact Property
- HubSpot → Settings → Properties
- Create new property:
- Name: GCLID
- Internal name: gclid
- Field type: Single-line text
- Group: Contact information
- Map your form field to this property
Step 4: Create Google Ads Conversion Action
- Google Ads → Tools & Settings → Conversions
- Click + New conversion action
- Select "Import" → "Other data sources or CRMs"
- Choose "Track conversions from clicks"
- Configure:
- Name: "HubSpot SQL" (or your stage name)
- Category: Qualified Lead
- Value: Enter average value or leave blank
- Count: One
- Click-through window: 90 days (match your sales cycle)
- Save and note the Conversion Action ID
Repeat for each stage you want to track (MQL, SQL, Opportunity, Closed Won).
Step 5: Create the Data Connection
Now you need to send data from HubSpot to Google Ads when lifecycle stages change. There are several methods:
Automation Methods
Option A: Zapier (Easiest, ~$20-50/month)
Trigger: HubSpot → Contact Property Changed → Lifecycle Stage = SQL
Action: Google Ads → Create Offline Conversion
Configuration:
| Zap Field | Value |
|---|---|
| Conversion Action | Your SQL conversion |
| GCLID | {{gclid}} from trigger |
| Conversion Time | Now (or {{hs_lifecyclestage_sql_date}}) |
| Currency Code | USD |
| Value | Optional: deal amount |
Pros: No code, 15-minute setup Cons: Monthly cost, limited error handling
Option B: Make.com (More Control, ~$10-30/month)
Similar to Zapier but with better error handling and conditional logic.
Scenario:
- HubSpot Webhook → Lifecycle Stage Change
- Filter → Only if GCLID is not empty
- Google Ads → Upload Offline Conversion
- Error handler → Log to Google Sheet
Option C: HubSpot Workflow + Webhook (Technical)
If you have HubSpot Operations Hub:
Workflow Trigger: Lifecycle Stage = SQL
+ Filter: GCLID is known

Action: Custom Code (Node.js)
const hubspot = require('@hubspot/api-client');
const { GoogleAdsApi } = require('google-ads-api');

exports.main = async (event) => {
  const gclid = event.inputFields['gclid'];
  const conversionTime = new Date().toISOString();

  // Your Google Ads API call here
  // Send gclid, conversionTime, and optional value

  return { status: 'success' };
};
Note: You don't actually need Operations Hub Pro—Zapier works great and saves significant money.
Option D: Google Ads API Direct (Advanced)
For high-volume, build a custom integration:
- Set up Google Ads API credentials
- Build a microservice that receives HubSpot webhooks
- Transform data to Google Ads format
- Upload via OfflineConversionUpload service
This is overkill for most businesses but necessary at enterprise scale.
Troubleshooting Common Issues
Issue 1: Conversions Not Appearing
Checklist:
- GCLID is captured and stored in HubSpot
- Conversion action attribution window covers the time since click
- Wait 24-48 hours (not real-time)
- Check Google Ads → Tools → Conversions → Click "See matched"
Issue 2: Low Match Rate
Causes:
- GCLID not captured on all conversions
- Contacts without GCLIDs (organic, direct, other sources)
- GCLID expired (>90 days from click)
Solutions:
- Add filter in automation: Only send if GCLID is known
- Check your capture code is running on all pages
- Extend cookie duration if sales cycle is long
Issue 3: Conversion Values Not Showing
Ensure:
- Value is sent as a number, not string
- Currency code matches account setting
- Value field is mapped in your automation
Issue 4: Duplicate Conversions
Prevention:
- Add a "Conversion Sent to Google" checkbox in HubSpot
- Update it after sending
- Filter workflow: Only run if checkbox is not checked
Related: Fix Duplicate Conversions in Google Ads
Best Practices for B2B
1. Start with One Stage
Don't try to import MQL, SQL, Opportunity, and Closed Won all at once. Start with your most valuable conversion (usually SQL or Closed Won), get it working, then add more.
2. Use Appropriate Attribution Windows
| Stage | Recommended Window |
|---|---|
| MQL | 30-60 days |
| SQL | 60-90 days |
| Closed Won | 90-120 days |
For long B2B sales cycles, 90 days is often still not enough.
3. Include Deal Values When Possible
Sending revenue with closed-won conversions dramatically improves Smart Bidding:
| What You Send | Smart Bidding Learns |
|---|---|
| Conversion only | "Campaign A gets deals" |
| Conversion + $50K value | "Campaign A gets $50K deals" |
4. Monitor Regularly
Weekly review:
- Conversion volume (Google Ads vs HubSpot stage counts)
- Any automation errors (Zapier/Make logs)
- Match rate percentage
Frequently Asked Questions
Answers to common offline conversion import questions.
Need Help Setting This Up?
If this seems complex or you want it done right the first time, book a 15-minute call to discuss a Tracking & Attribution Fix project.
What's included:
- Complete GCLID capture implementation
- HubSpot properties and field mapping
- Google Ads conversion action setup
- Automation configuration and testing
- Documentation for your team